

Alongside the affiliate account page, the affiliate registration page is one of the most important parts of your affiliate area.
Visitors can join your affiliate program here by filling out the registration form.
Adding your affiliate registration page#
While going through SliceWP’s setup wizard, you can generate the affiliate registration and affiliate account pages with a simple toggle.
If you opt for this, SliceWP will automatically create a new page for you, named “Affiliate Registration”, and add the [slicewp_affiliate_registration] shortcode within it. This shortcode will render the affiliate registration form on the page.
If you decide to skip this step and manually set up your affiliate account page, here’s how you can do it:
- Create a new page from your WordPress admin area > Pages > Add New.
- Insert the
[slicewp_affiliate_registration]shortcode to the page. If you’re using the new WordPress editor, Gutenberg, add the shortcode by inserting a new shortcode block, as shown here:
- Select this newly created page for the Affiliate Registration Page option in SliceWP > Settings > Affiliate Area (tab) > Pages (section).
The above steps will render an affiliate registration form similar to the one below.
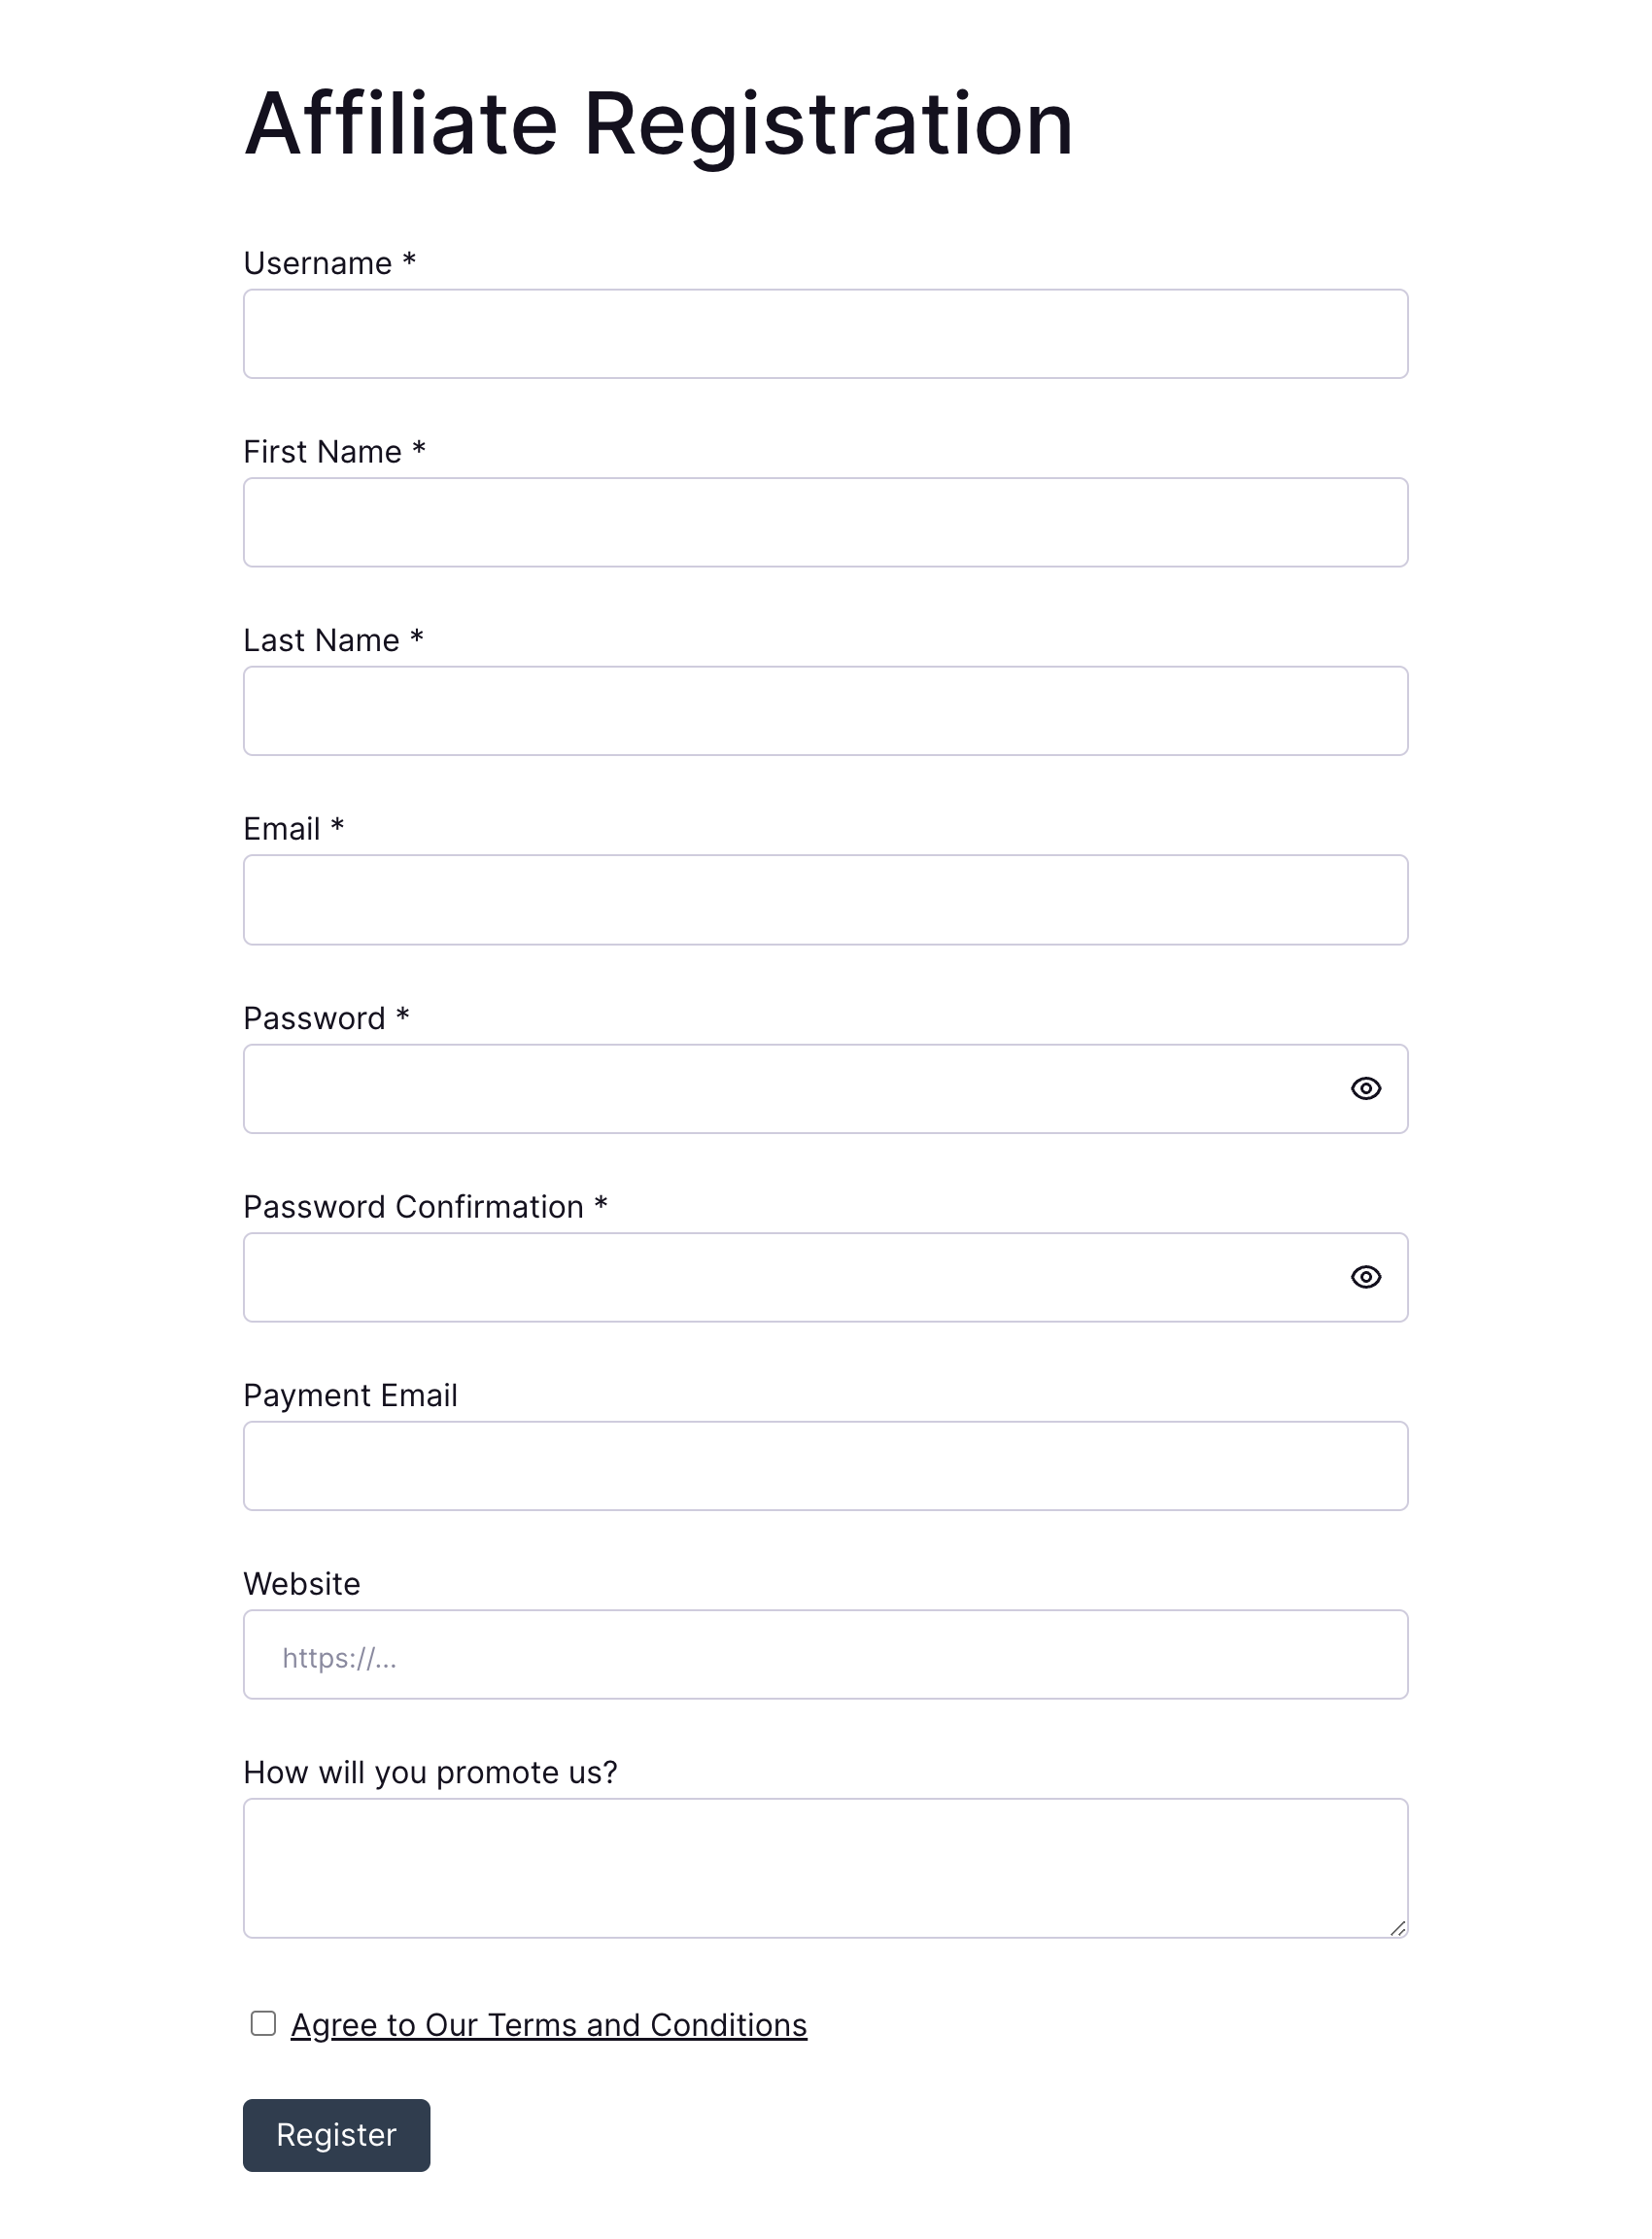
Please note that the form’s styling is highly dependent on the theme you’re using. Most themes style forms properly, but unfortunately issues can occur on certain ones. If that’s the case, please contact us.
Customizing your affiliate registration form#
By default, the affiliate registration form includes a few essential fields, asking visitors for their name, email address, account password and details on how they plan to promote your business.
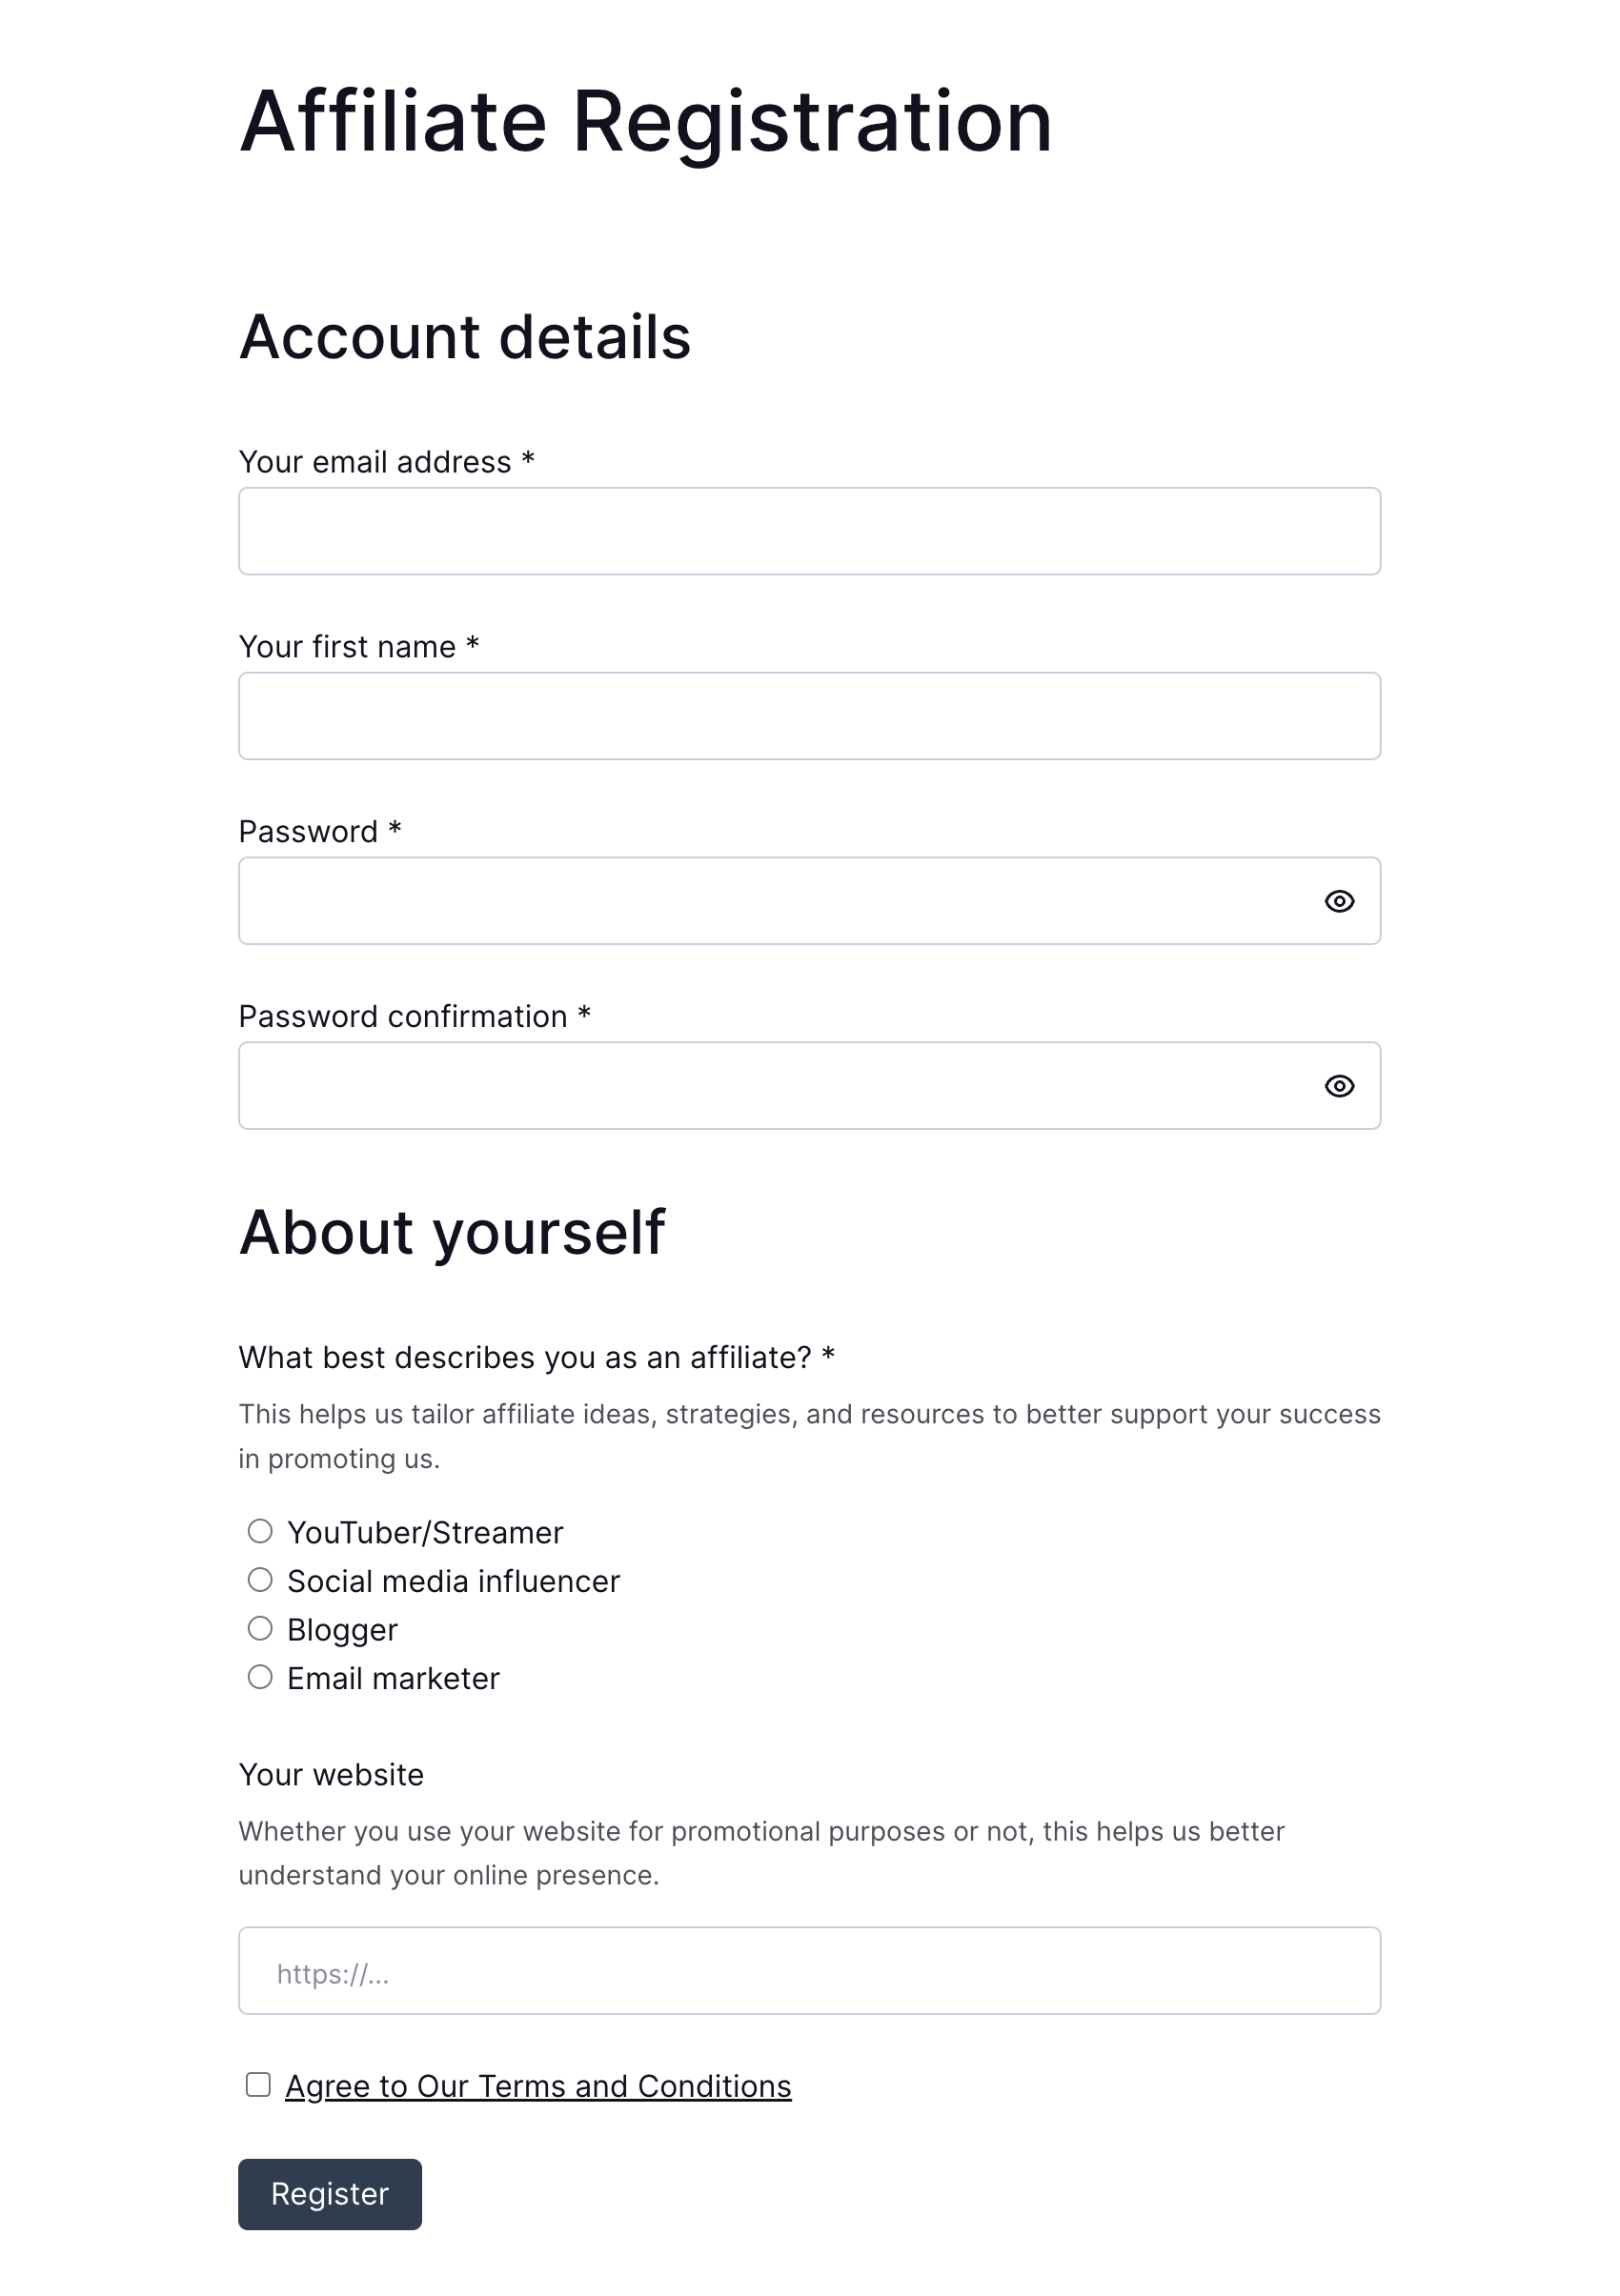
If you need to collect additional information from affiliates, you can customize the registration form by adding custom fields. These fields allow you to tailor the sign-up process to better fit your business needs.
You can add various types of customizable fields, including:
- Textarea Fields – Allow affiliates to provide more detailed responses, such as their marketing strategies or business background.
- File Upload Fields – Allow affiliates to submit documents, such as tax forms or proof of identity.
- Location Fields (Country & State) – Gather geographic information to better understand where your affiliates are based.
Click here for a step-by-step guide on how you can add custom fields to your affiliate registration form.
Redirecting users after registration#
By default, if you don’t set a custom redirect on the shortcode and you also haven’t set your affiliate account page, users that successfully complete the registration form will not be redirected anywhere. They will remain on the register affiliate page and a success message will replace the form.
However, if you set a custom affiliate account page, users will automatically be redirected there after completing the registration process.
To customize this user flow and redirect the user to a specific page, add the redirect_url attribute to the affiliate registration shortcode. With redirection set, the new shortcode should look like this: [slicewp_affiliate_registration redirect_url="https://yourwebsite.com/page/"]
Make sure to replace https://yourwebsite.com/page/ with the actual URL of the page you want users to be redirected to.
Protecting your registration form from spam#
SliceWP comes with a spam protection layer built-in. However, to further safeguard against spam registrations, you can add a security widget like Google reCAPTCHA, Cloudflare Turnstile or hCaptcha.
Click here for a step-by-step guide on how to set up a spam prevention widget for your affiliate registration form.
